Your First HappyFunTimes Unity Game
See the video above for a demonstration of these steps
First let's make the simplest non happyfuntimes example I can think of.
Make a new scene in Unity
Create a Sphere and name it "Player" (or whatever you want)
This will be our player
Add new Script Component and edit the script. Make the code look like this
using UnityEngine;
using System.Collections;

public class PlayerScript : MonoBehaviour {

    public float speed = 4.0f;

    // Use this for initialization
    void Start () {

    }

    // Update is called once per frame
    void Update () {
        float dx = speed * Input.GetAxis("Horizontal") * Time.deltaTime;
        float dz = speed * Input.GetAxis("Vertical")   * Time.deltaTime;
        transform.position = transform.position + new Vector3(dx, 0.0f, dz);
    }
}
Select the
Main Cameraand chooseGameObject->Align With Viewfrom the menusRun it
We now have a simple working game. Use the arrow keys to control the sphere.
Add in HappyFunTimes
Let's make our sample work with HappyFunTimes
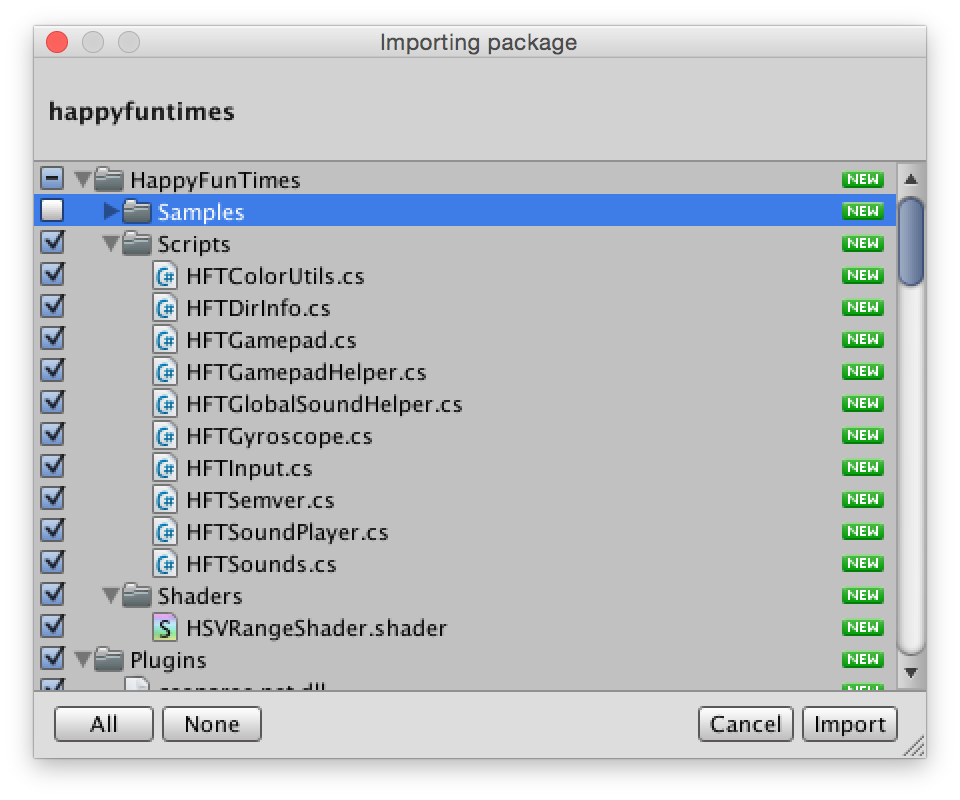
Import the HappyFunTimes plugin but don't include the samples.
Add the HFTInput script component to the Player
In the
PlayerScript, inStartLook up theHFTInputcomponent we just addedprivate HFTInput m_hftInput; // Use this for initialization void Start () { m_hftInput = GetComponent<HFTInput>(); }Modify
Updateto also usem_hftInput.// Update is called once per frame void Update () { float dx = speed * (m_hftInput.GetAxis("Horizontal") + Input.GetAxis("Horizontal")) * Time.deltaTime; float dz = speed * (m_hftInput.GetAxis("Vertical") + Input.GetAxis("Vertical") ) * Time.deltaTime; transform.position = transform.position + new Vector3(dx, 0.0f, dz); }Turn the player into a prefab (drag it to the project) and delete it from the scene.
Make new GameObject and name it
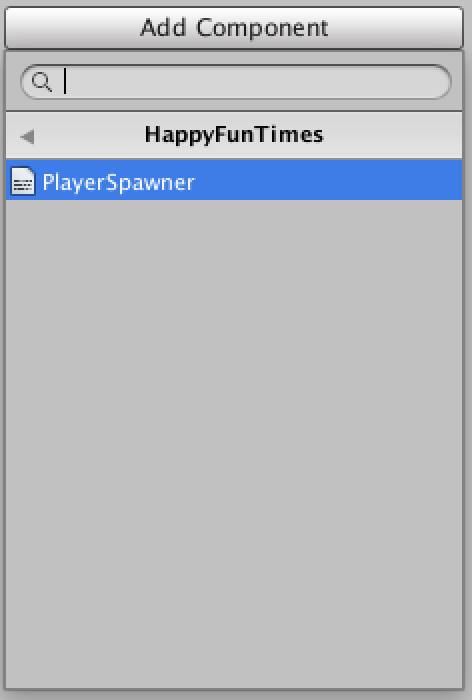
LevelManagerAdd the HappyFunTimes
PlayerSpawnerto theLevelManager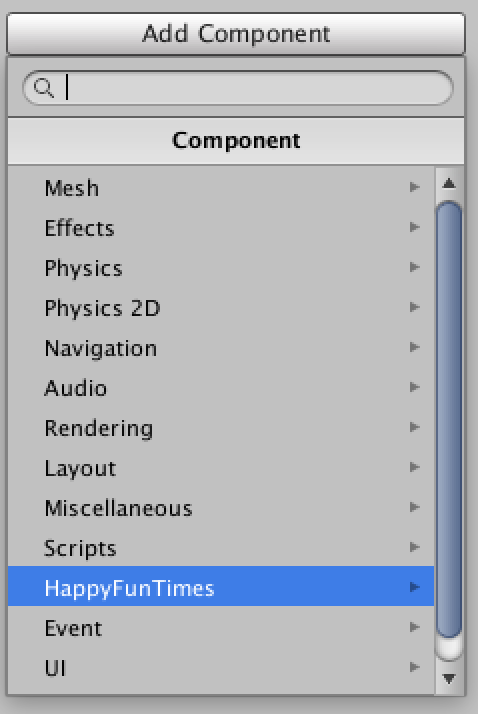
Set the
Prefab To Spawn For Playerto the player prefab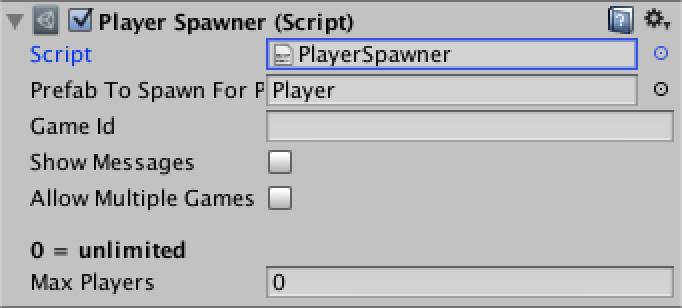
Run it
Open a new browser window (Ctrl-N or Cmd-N) and then go to
http://localhost:18679Size the browser window so you can see unity.
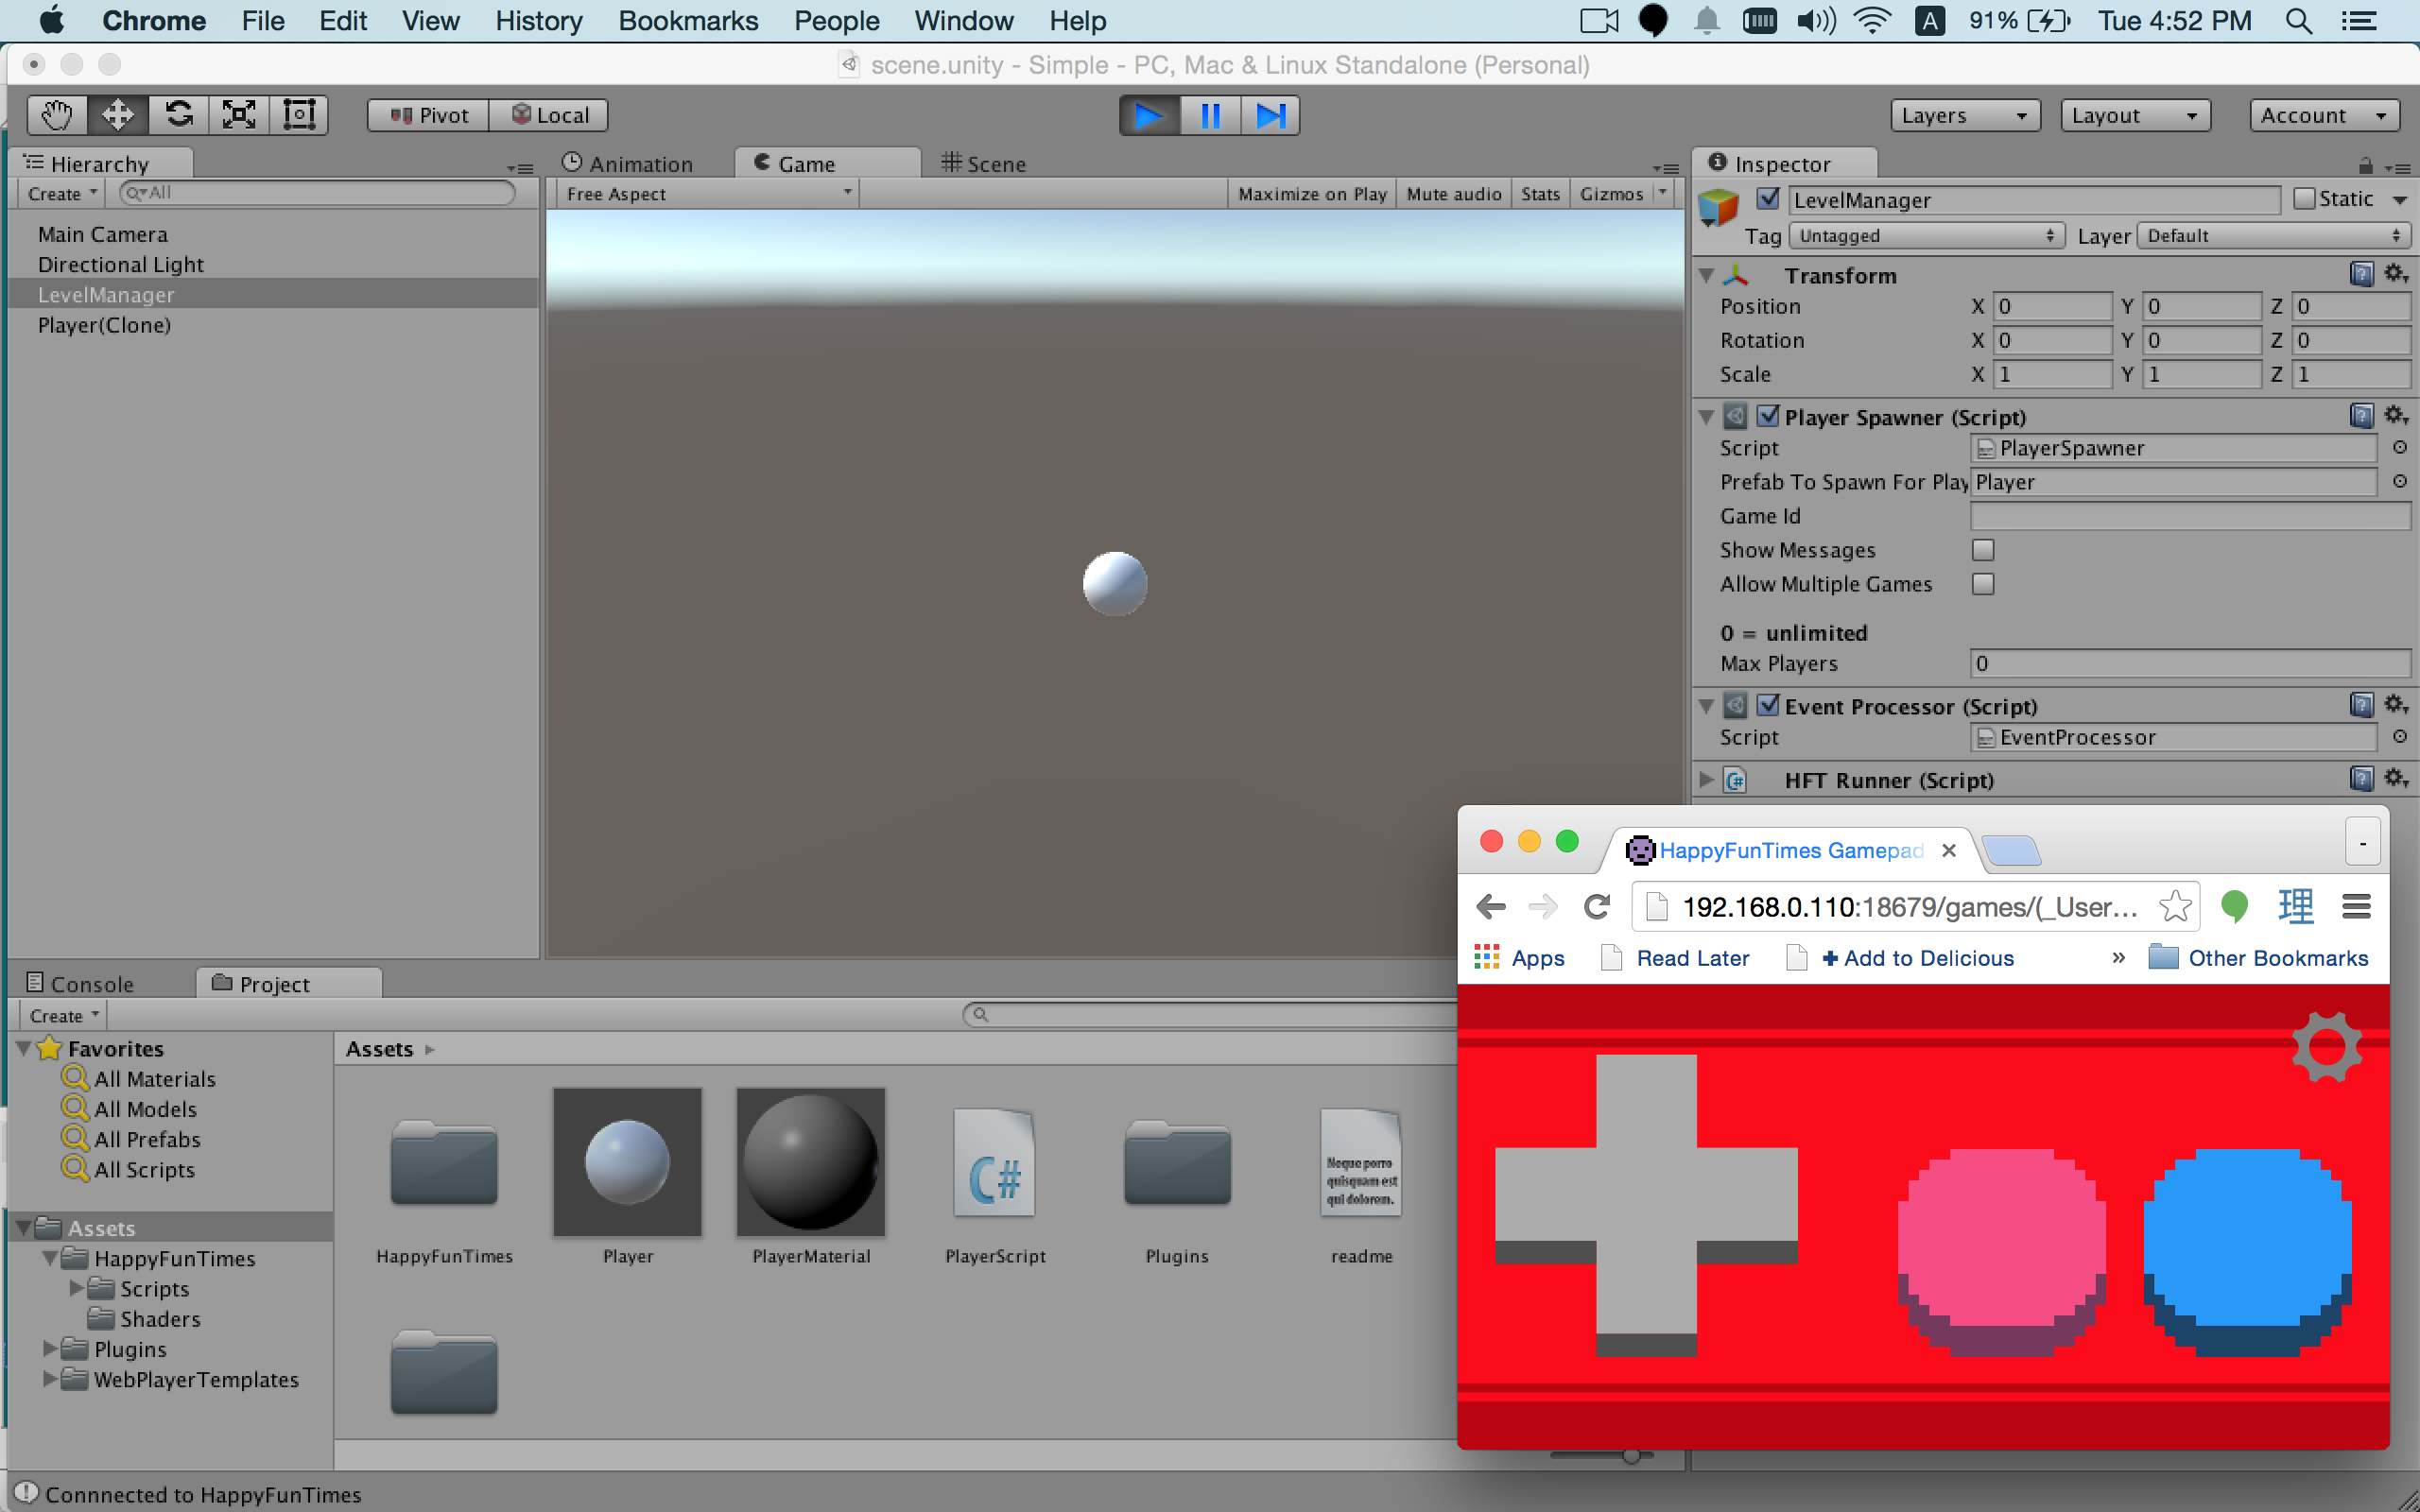
You should see that pressing the D-Pad in the browser controls the sphere. Try
opening more browser windows and you'll see more spheres. If you want, get out
your phone and go to happyfuntimes.net and as long as your phone and computer
are on the same WiFi you should see another sphere appear. Note they all start
at the same location so you need to move them to see them.
Setting the Color
One problem right now is all the spheres are the same color. Let's fix that
In
Startlook up theHFTGamepadcomponent.It was automatically added for you when you added the
HFTInputcomponent.private HFTInput m_hftInput; private HFTGamepad m_gamepad; // Use this for initialization void Start () { m_hftInput = GetComponent<HFTInput>(); m_gamepad = GetComponent<HFTGamepad>(); }Also in
Startlook up the renderer component and set its material's color to the color the gamepad chose.// Use this for initialization void Start () { m_hftInput = GetComponent<HFTInput>(); m_gamepad = GetComponent<HFTGamepad>(); Renderer renderer = GetComponent<Renderer>(); renderer.material.color = m_gamepad.color; }Create a new Material and assign it to the player prefab
Run it
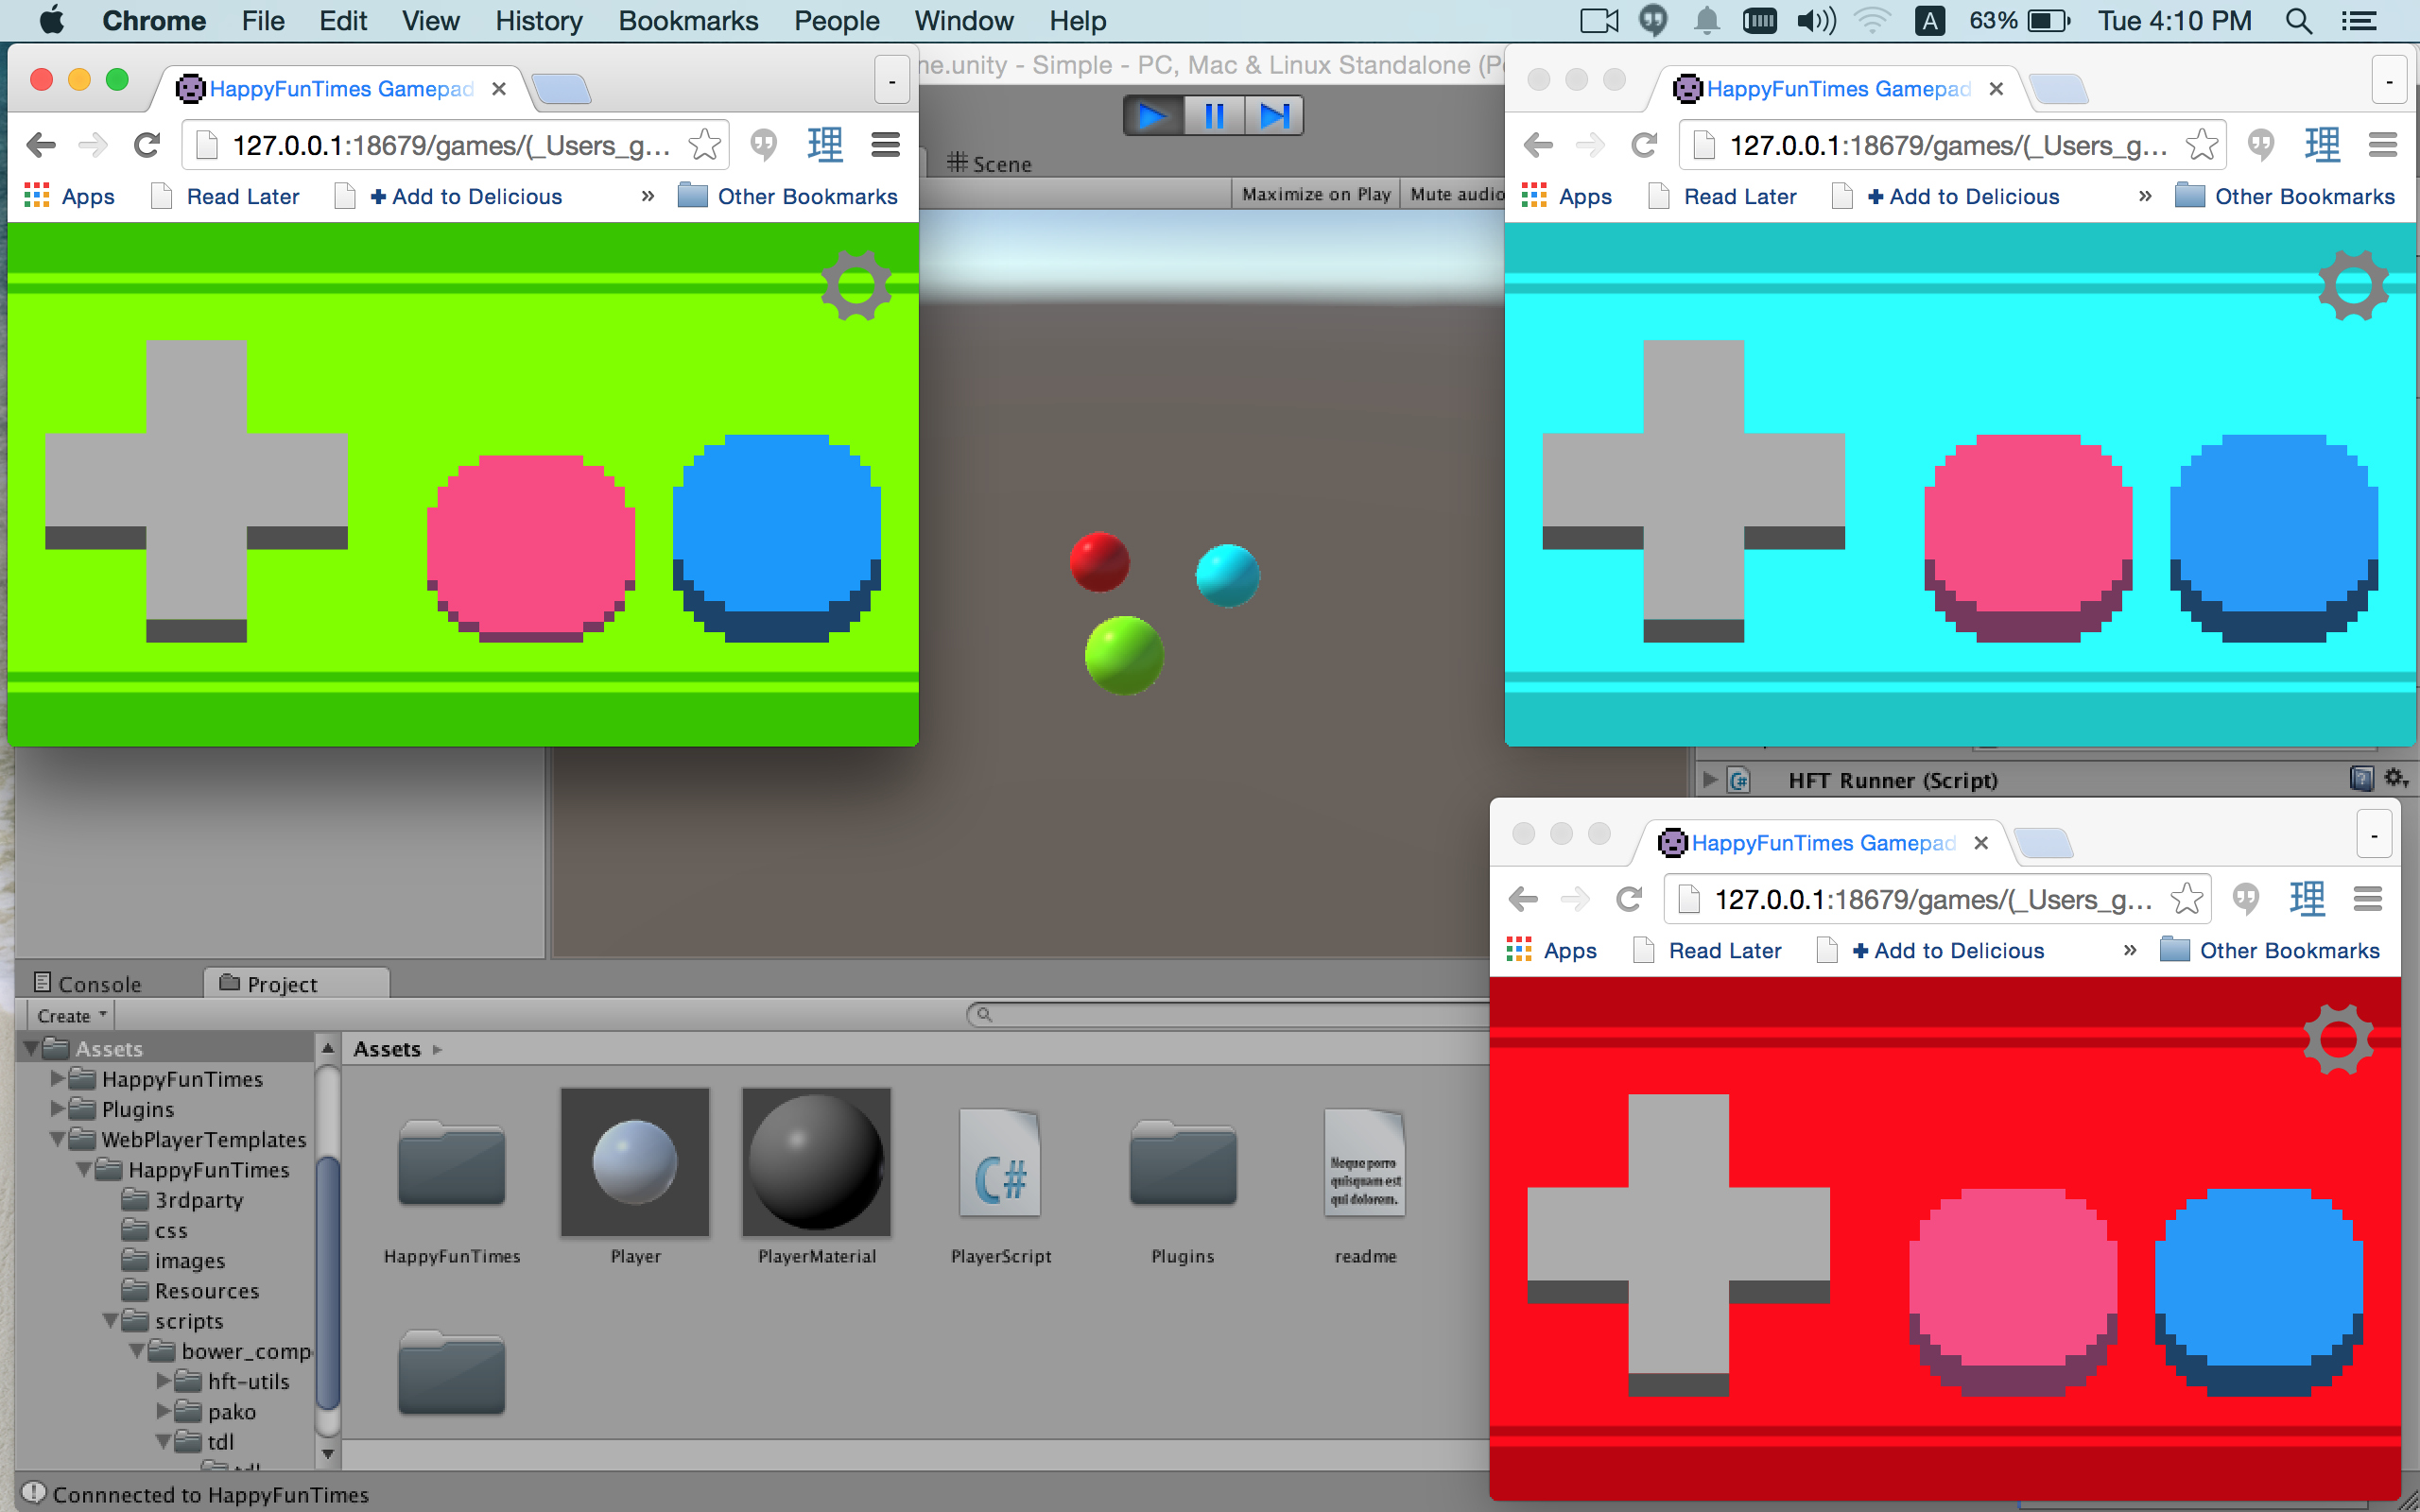
You should see each sphere matches the color of the controller that connects it.
If you want to pick colors yourself you can also set m_gamepad.color to some
color and the controller will change color.
The Gamepad API
HFTGamepad implements the Unity side of the sample gamepad controller.
For a more through explanation of how to use it see "Unity3D HappyFunTimes Gamepad".
Be Creative
I hope this demonstrated how easy it is to get started with HappyFunTimes.
The sample controller here is just that, a sample. Feel free to change it
or add any other features need. Don't limit yourself to the sample controllers.
You can make the phones do all kinds of things. To see how to make controllers
from scratch dig through the code in Assets/HappyFunTimes/Script/HFTGamepad.cs
and Assets/WebPlayerTemplates/HappyFunTimes/controllers/gamepad/controller.js and
see this document.
Other controllers pairs are found in
The simple controller
Assets/HappyFunTimes/MoreSamples/simple/Scripts/ExampleSimplePlayer.cs
Assets/WebPlayerTemplates/HappyFunTimes/controllers/simple/scripts/controller.js
The character-select controller
Assets/HappyFunTimes/MoreSamples/simple/Scripts/ExampleCharacterSelect.cs
Assets/HappyFunTimes/MoreSamples/simple/Scripts/ExampleCharacterSelectPlayer.cs
Assets/WebPlayerTemplates/HappyFunTimes/controllers/character-select/scripts/controller.js